- Login in to your MainWP Dashboard
- Go to the MainWP > Extensions > Advanced Uptime Monitor page
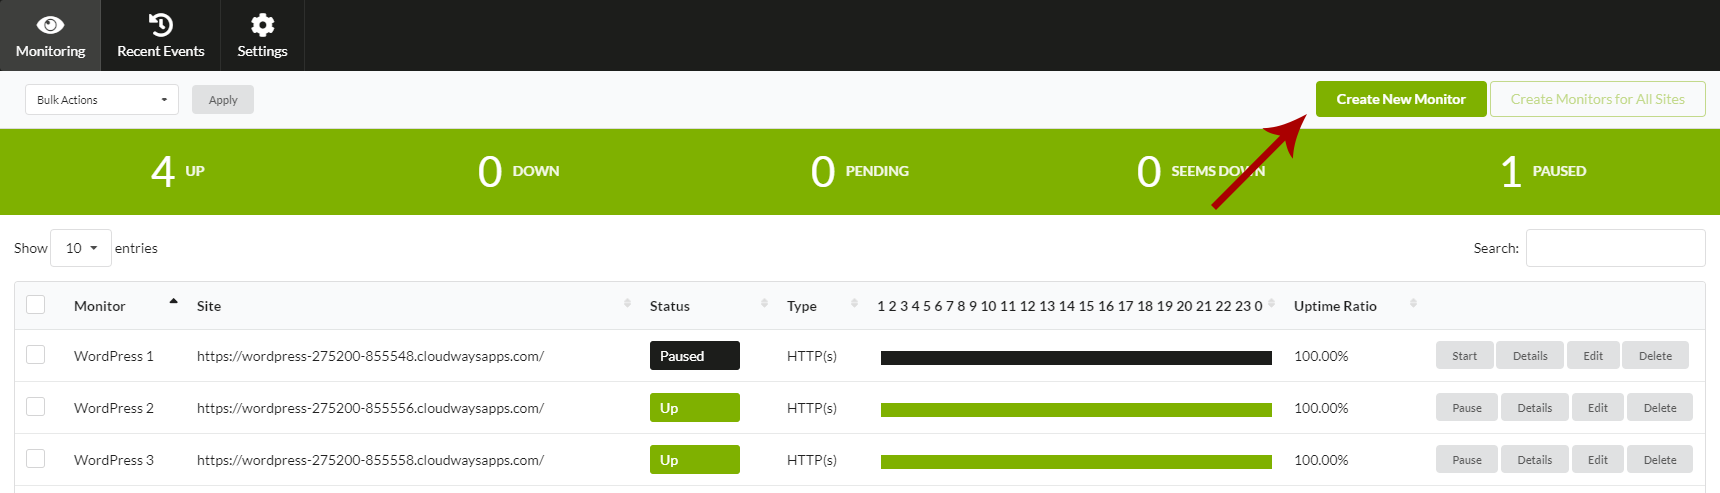
- Go to the Monitoring tab
- Click the Create New Monitor button
- A popup screen will appear

- Select Monitor Type
- Set Monitor Friendly Name
- Add URL or IP address of your website
- Set Monitor Interval
- Select Contacts to Notify
Monitor Types
- http(s): that’s perfect for website monitoring. The service regularly sends requests (which are the same as if a visitor is browsing your website) to the URL and decides if it is up or down depending on the HTTP statuses returned from the website (200-success, 404-not found, etc.)
- ping: this is good for monitoring a server. Ping (ICMP) requests are sent, and up/down status is decided according to the “if responses are received or not”. Ping is not a good fit for monitoring websites as a website (its IP) can respond to ping requests while it is down (which means that the site is down but the server hosting the site is up)
- keyword: checks if a keyword exists or not exists on a web page
- port: good for monitoring services like SMTP, DNS, pop as all these services run from a specific port, and Uptime Robot decides their statuses if they respond to the requests or not.
Important Notes
In case you are not able to create your first monitor from the MainWP Advanced Uptime Monitor Extension, try to create the first monitor directly in the Uptime Robot dashboard, then try to create the next one from your Extension.