With the MainWP Rocket Extension, you can control the WP Rocket settings for all your child sites directly from your MainWP Dashboard. This includes giving you the ability to manage your preferences, clear or preload cache on your child sites.
This powerful combination will enable you to:
- Cache Pages
- Preload Cache
- Enable Browser Caching
- Optimize Google Fonts
- Use LazyLoad
- Minify JS, HTML and CSS files
- Optimize Images
- Defer JavaScript Loading
- Use CDN
- Use DNS Prefetching
and much more…
What makes WP Rocket better than the other caching plugins?
WP Rocket integrates all the latest features in terms of performance: deferred loading of images and JavaScript, minification of HTML code, concatenation, and minification of CSS and JavaScript files.
While being complete, WP Rocket is also very simple to configure, even for beginners.
WP Rocket also has its own self-hosted crawler bot that will visit your site and generate cached files so that when human visitors come to your website, they immediately get the fast, cached version of the page.
Important Notes
If you have issues with the WP Rocket plugin, help documentation can be found here: http://docs.wp-rocket.me/.
Install and Set the MainWP Rocket Extension
Installation of the MainWP Rocket Extension requires two important steps:
- Installing the Extension itself on your MainWP Dashboard site
- Installing the WP Rocket plugin on Child Sites
Installing the Extension
The MainWP Rocket Extension needs to be installed only on your MainWP Dashboard site. You can install it as any other MainWP Extension.
Installing the Plugin
For the proper use of the MainWP Rocket Extension, you need to install the WP Rocket Plugin on your child sites.
Install from MainWP Dashboard
- Login in to your MainWP Dashboard
- Go to the MainWP > Plugins > Install > Upload page
- Click the Upload Now button
- Upload the WP Rocket plugin
- Select your child sites
- In the Installation Options box, make sure that the Activate after installation option is selected.
- Click the button to complete the installation.
- Once the installation is complete, Sync your MainWP Dashboard.
Install directly on Child Site
- Login into your child site
- Go to the WP > Plugins > Add New page
- Click the Upload Plugin button
- Upload the WP Rocket plugin
- Click the Install button
- Click the Activate button
Important Note
After installing the WP Rocket plugin, it is required to Synchronize your sites so your MainWP Dashboard becomes aware that the plugin has been installed and activated.
WP Rocket Dashboard
From the MainWP > Extensions > Rocket > Overview page, you can monitor all of your child sites where you have the WP Rocket plugin installed. In the sites list, you will be notified if the plugin has an update available or if the plugin is deactivated.
- In case the plugin is not activated, the Activate action will appear in the corresponding site row.
- If there is a new version of the plugin, the Update action will appear in the corresponding site row.
Available Actions
From the MainWP > Extensions > Rocket > Overview page, you can hide/unhide the WP Rocket plugin on your child sites, quickly access the plugin settings on a child site or the WP Admin section. Actions are provided in the actions menu.
Important Notes
If you know that you have the plugin installed on a child site, but the child site doesn’t appear in the list, try to re-sync your sites.
Manage WP Rocket Settings
The MainWP Rocket Extension allows you to manage the WP Rocket plugin settings. It provides you the ability to manage the following settings:
- Basic Options
- Advanced Options
- Database
- Preload
- CDN
- Varnish
Update WP Rocket Settings on All Your Sites
- Login in to your MainWP Dashboard
- Go to the MainWP > Extensions > Rocket page
- Locate options that you want to update
- Set your preferences
- Click the Save Settings button
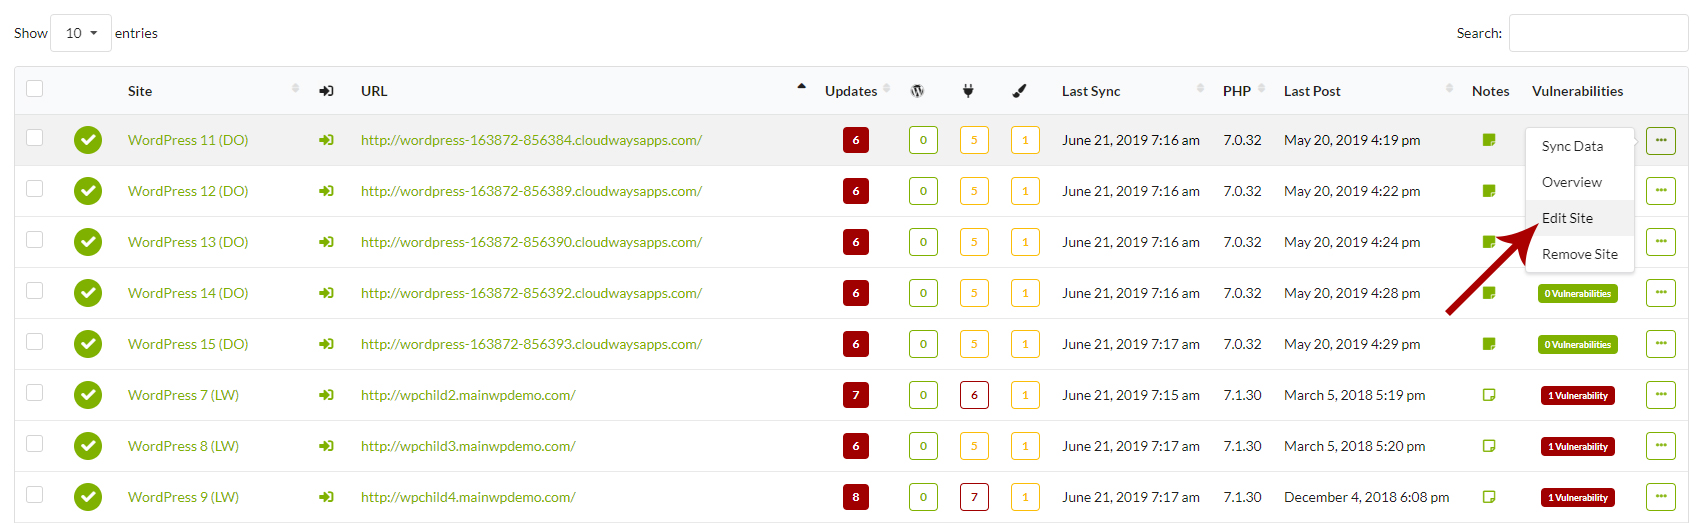
Update WP Rocket Settings on a Single Site
- Login in to your MainWP Dashboard
- Go to the MainWP > Sites > Manage page
- Locate the site where you want to update settings
- Under the Site column, click the Edit action
- Go to the WP Rocket Page
- Locate options that you want to update
- Set the Overwrite General Settings option to YES and click the Save Changes button
- Set your preferences
- Click the Save Changes button at the bottom of the page.
Clear/Preload WP Rocket Cache
MainWP Rocket Extension allows you to Clear quickly or Preload cache on your child sites.
On the MainWP > Extensions > Rocket page, under the WP Rocket tab, you will find Clear Cache, Preload Cache, and Purge OPCache buttons.

- By Clicking the Clear Cache button, you will clear the cache on all your child sites.
- By Clicking the Preload Cache button, you will preload cache on all your child sites.
- By Clicking the Purge OPCache button, you will clear the OPCachec on all your child sites.