© MainWP - WordPress Management for Professionals 2014 - 2020 - Terms of Service - Privacy Policy - Cookie Policy - Support Policy - Refund Policy - MainWP Domain Use
Getting Started with MainWP
For the proper use of the MainWP system, it is required to Install and Activate the MainWP Dashboard plugin on a WordPress site that is going to be used for controlling all other sites (Dashboard Site) and to Install and Activate the MainWP Child plugin on all your WordPress sites that will be connected later your MainWP Dashboard (Child Sites).
Important Notice
It is not required; however, it is HIGHLY recommended to install the MainWP Dashboard to a clean WordPress installation and not on one of your operating sites. This helps to eliminate any unnecessary plugin conflicts.
Install MainWP Dashboard
1. Go to the WP > Plugins page on your WordPress site that is dedicated to hosting your MainWP Dashboard plugin
2. Click Add New to install a new plugin
3. Click Upload Plugin button to upload the previously downloaded plugin
4. Click Choose File button, select the mainwp.zip file and click the Install Now button
5. Once the plugin is uploaded, click the Activate button to activate it
Quick Setup Wizard
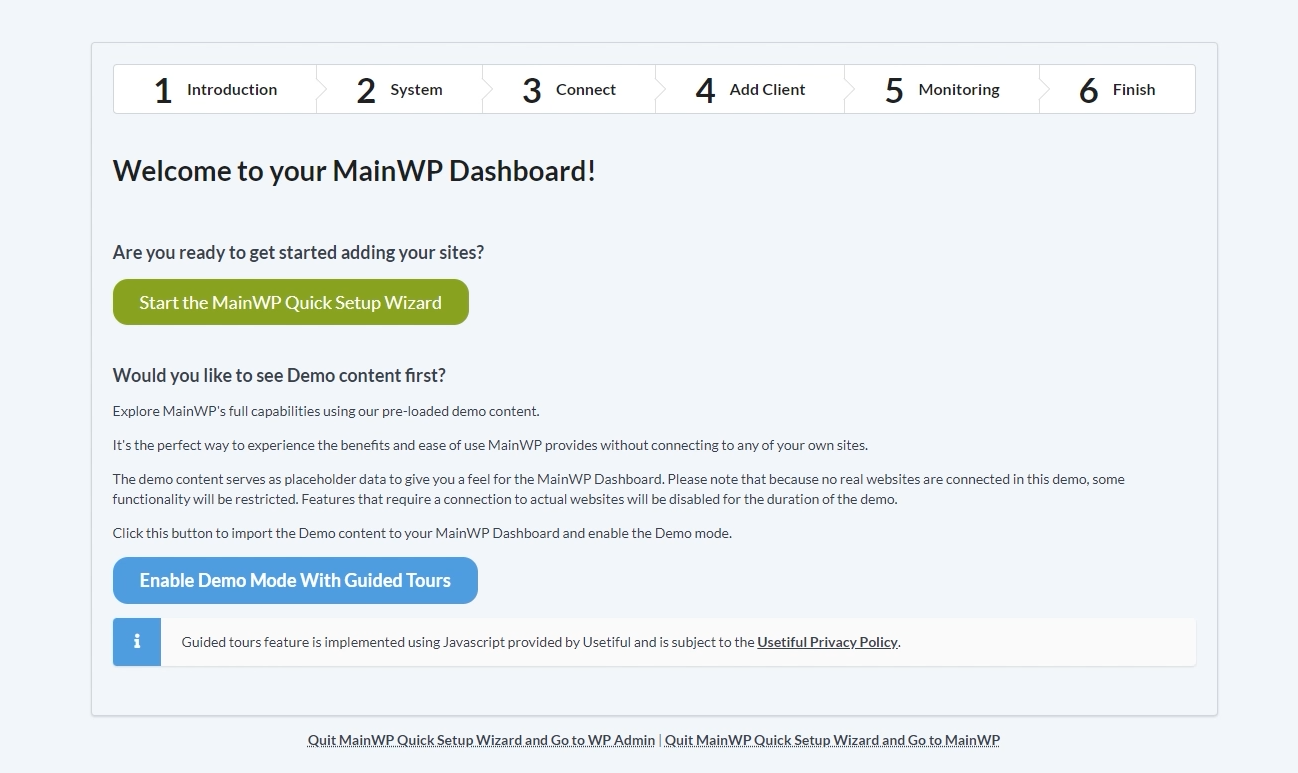
After the first activation, MainWP Quick Setup Wizard will be initiated, and it guides you through the initial setup process. Click the Let’s Go button to start the setup.
Step 1: Installation
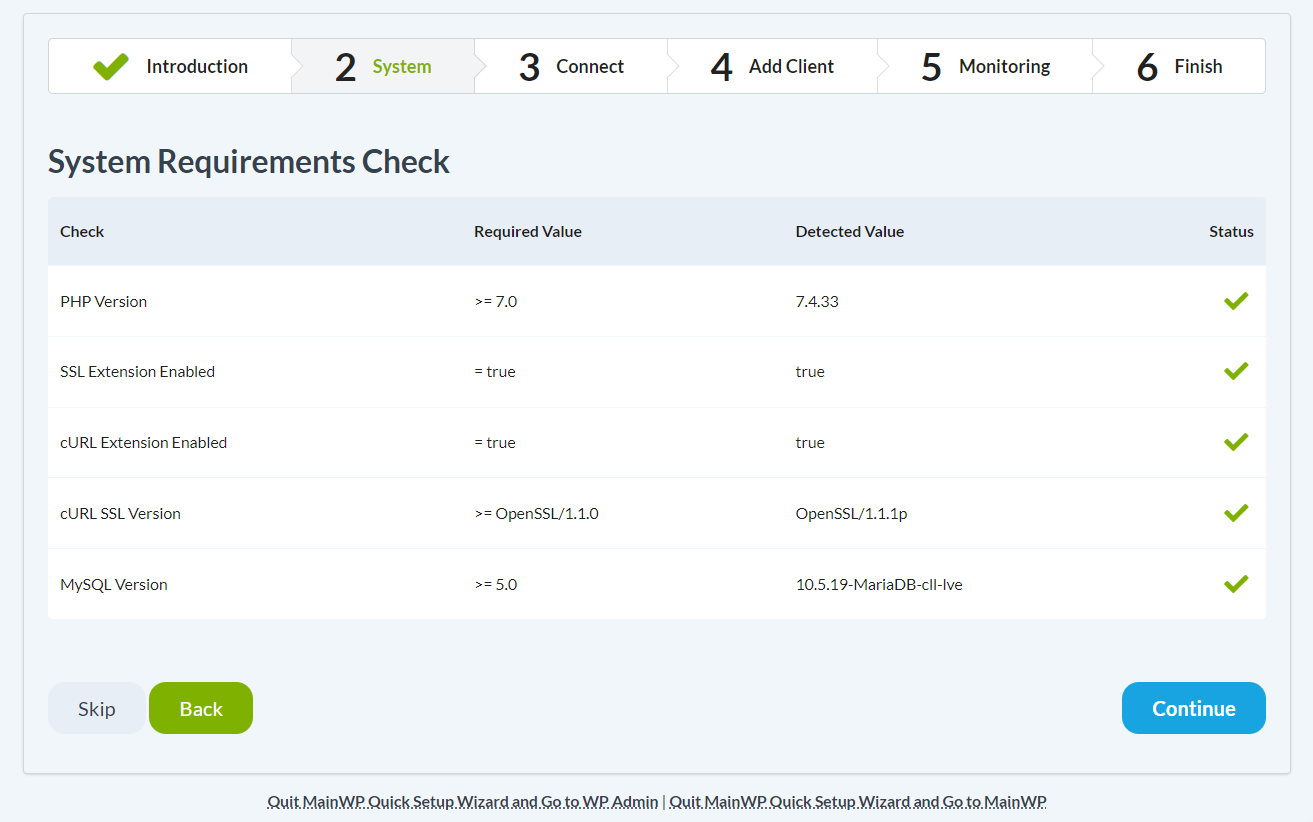
Step 2: System
1. Make sure all system requirements are passed. If any of the system requirements fail to pass, please see this help document before you proceed to the next step.
2. Click the Continue button
Step 3: Install MainWP Child
Follow the instructions to install the MainWP Child plugin on the WordPress site that you want to connect to your MainWP Dashboard.
1. Go to the WP > Plugins page on your WordPress site that you want to add to your MainWP Dashboard
2. Click Add New to install a new plugin
3. In the Search Field, enter “MainWP Child” and once the plugin shows, click the Install button
4. Activate the plugin
Once the MainWP Child plugin is installed and activated on your website, the website is ready to be connected to your MainWP Dashboard.
5. Go back to your MainWP Dashboard, to continue the process. Click the MainWP Child Plugin Installed button
Step 4: Connect First Site
Important
If you experience issues with adding a website to your MainWP Dashboard, please use the Test Connection feature to make sure that your MainWP Dashboard can communicate with your website.
Also, you can check the Potential Issues document and see how to resolve them.
If any of these don’t help, do not hesitate to submit a helpdesk ticket!
Step 5: Performance
Step 6: Optimization
Step 7: Notifications
Step 8: Backups
1. Select if you are planning to use the MainWP plugin for backing up your child sites
2. If you choose to use it for backups, select one of the free Backup extension you prefer
3. If you already have MainWP Account, enter your login credentials. If not, click the Register for MainWP Account button, and after successful registration, proceed to the next step.
4. Click the Continue button
Step 9: WP Cron
1. If you want to make sure that WP-Cron jobs are regularly triggered on your MainWP Dashboard, you can Authorize the Uptime Robot service and add your dashboard site as a monitor.
The Uptime Robot will ping your dashboard site regularly and make sure that all scheduled events are occurring.
2. Click the Continue button