How to use the FluentAuth Plugin on Your Site
Heads up: This page may include affiliate links. Read the full disclaimer.

If you are looking for a well-built, performance-based security plugin for your site, then FluentAuth is a plugin that you should look at.
FluentAuth includes the following features to secure your WordPress site;
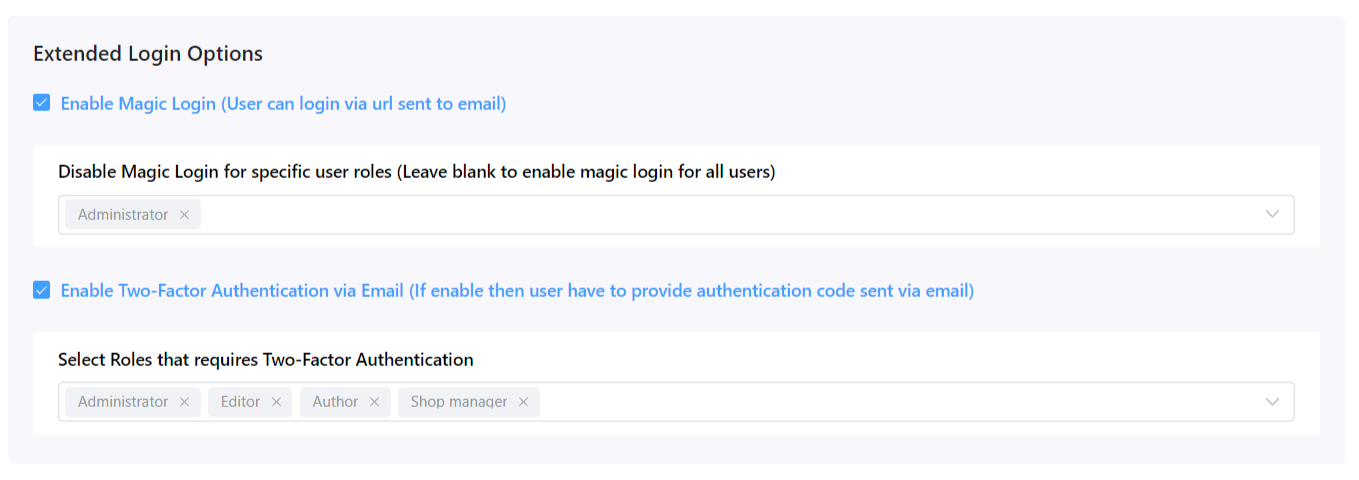
- Two-Factor Authentication for Login
- Magic Login via Email
- Social Login / Register
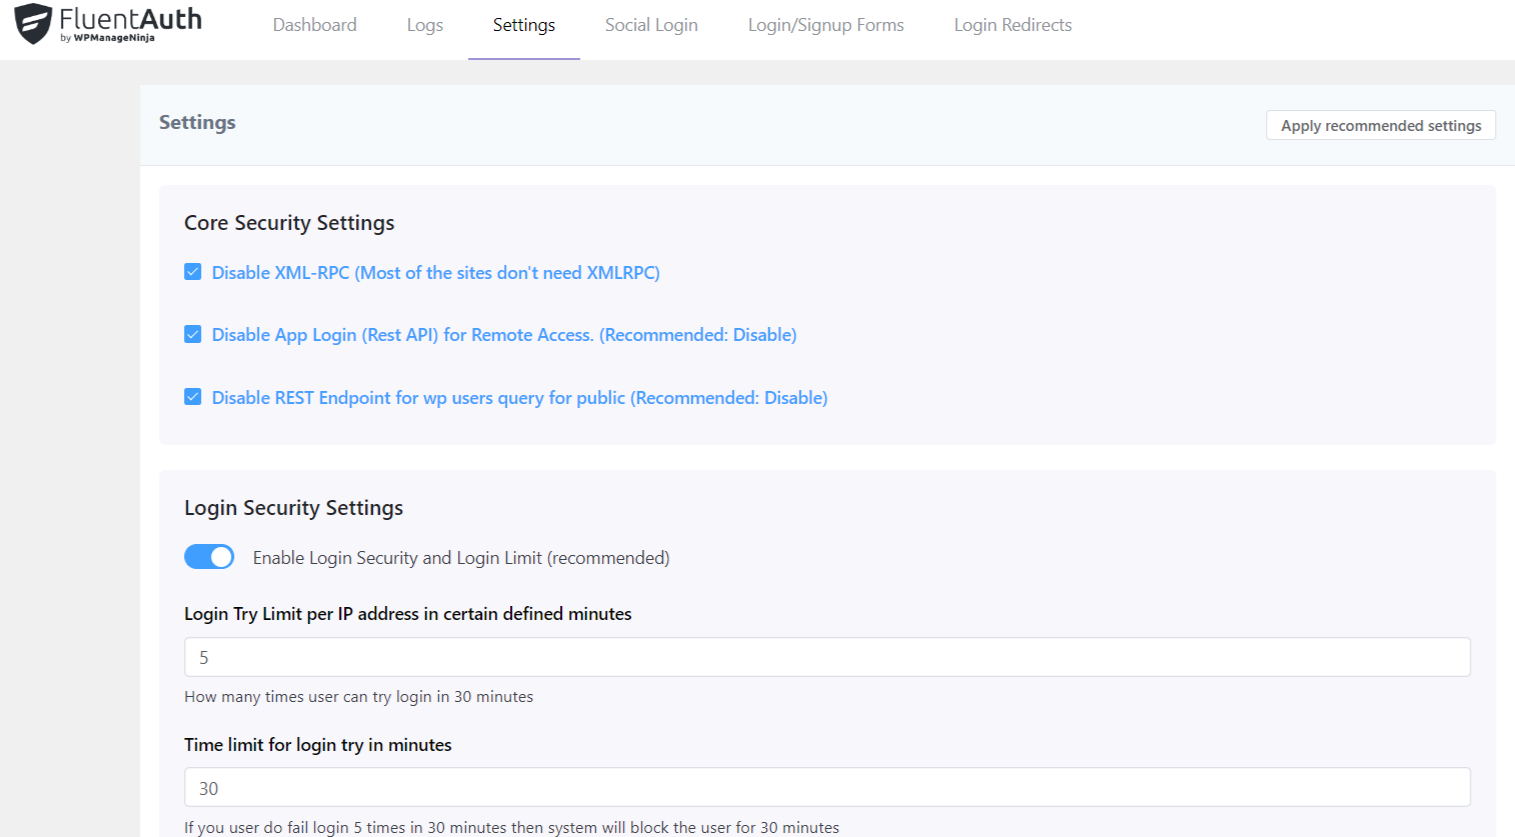
- Limit Login Attempts
- Dynamic Login Redirects
- Detailed Audit Logs
- Core Security Enhancement
- Security Email Notifications
After you have installed and activated the FluentAuth plugin, it will add a new admin menu in wp-admin;
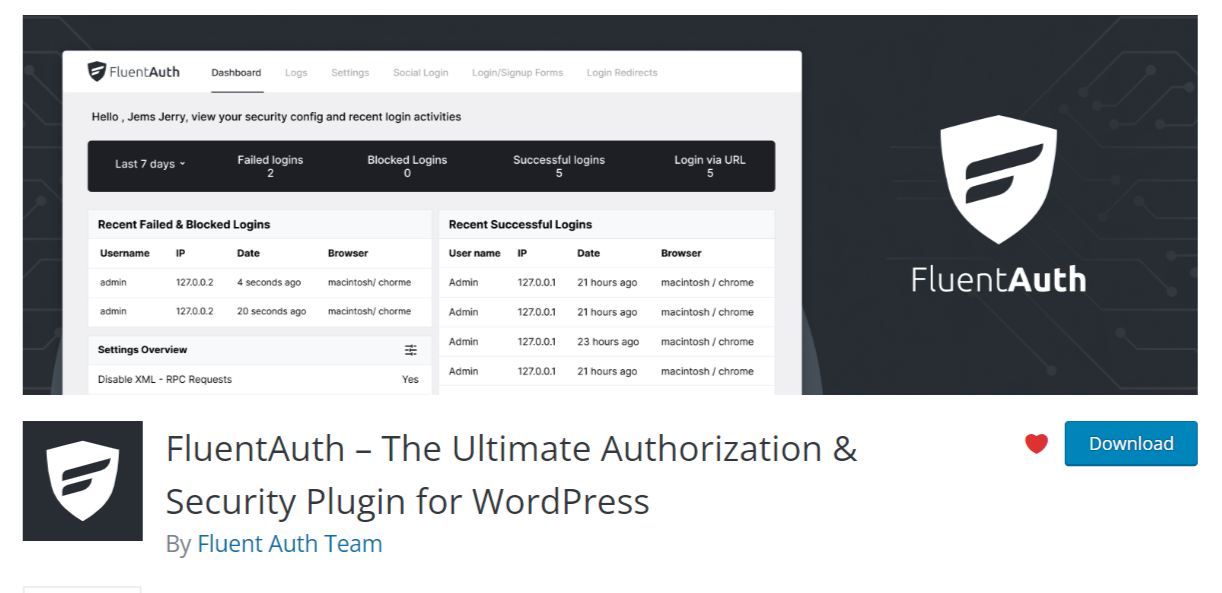
FluentAuth WordPress Plugin
It is suggested to apply the default recommended settings. However, you can tweak it as needed. Also, within the FluentAuth plugin screen, you can access the main dashboard, which gives you a good overview of recent failed, blocked, and successful logins.
The logs screen will give you more information about your site’s login activity. You can also delete logs from within the logs screen. Default log retention is set for 30 days.

Setting up social login, which currently supports GitHub and will support Google in the future, is straightforward. Login redirects are another easy-to-use feature that FluentAuth supports.
Basic login redirects can be set up on the screen along with setting up advanced login redirects, which can be driven by user role or user capability.
The FluentAuth plugin uses the following custom database tables for the storage of data;
wp_fls_auth_logs
wp_fls_login_hashes
If you need a new security plugin without many bloats, then checking out FluentAuth is worth the time.
Useful Links
Share
Manage Unlimited WordPress Sites from One Dashboard!
- Privacy-first, Open Source, Self-hosted
- Easy Client Management
- 15+ & 30 + Premium Add-ons
- Bulk Plugins & Themes Management
1 comment
Dimitris
It conflicts with Dashboard Lock extension
Comments are closed.