How to use the WPVivid Image Optimization Plugin
Heads up: This page may include affiliate links. Read the full disclaimer.

Keeping your site size down and fast is easy to do with the new plugin from WPVivid which is called WPVivid Image Optimization.
After you have installed and activated the plugin it will add a new admin menu item called;
WPVivid Imgoptin
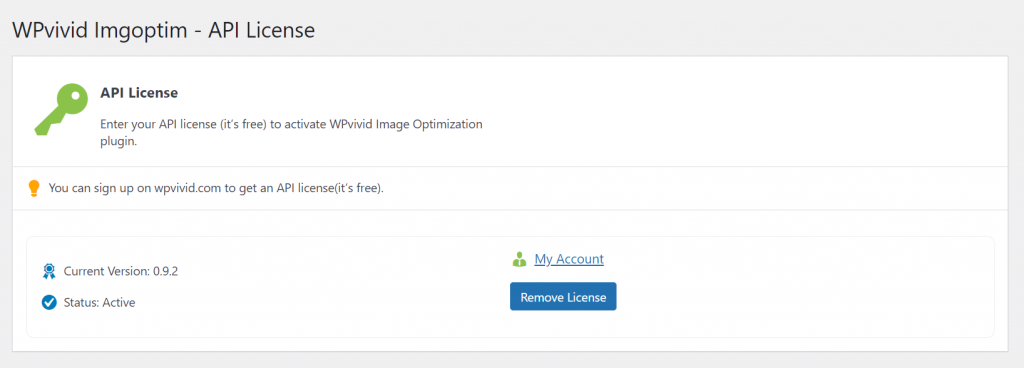
In order to be able to use the plugin, you will need a create a free account on the WPVivid site in order to get your API key. After you have created your free account you can find your API license key in my account. The free account includes up to 1000 credits per month which you can use for your site images to be optimized. You will need to copy your API license key into the plugin’s settings in order to be able to optimize site images.
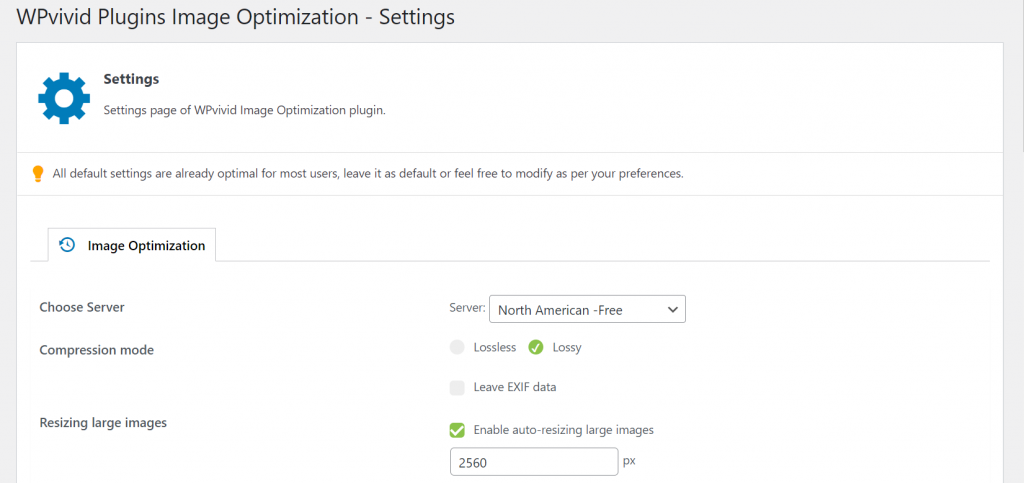
The default settings in the plugin would be good enough for most sites, but you can select if you want the images to be optimized using either lossless or lossy compression as well as if you want to preserve the EXIF data on the optimized images. In the plugin’s settings, you can also select the size that you would like to resize to in pixels for the larger images on the site. The WPVivid image optimization plugin also supports backing up the original images before they have been optimized.

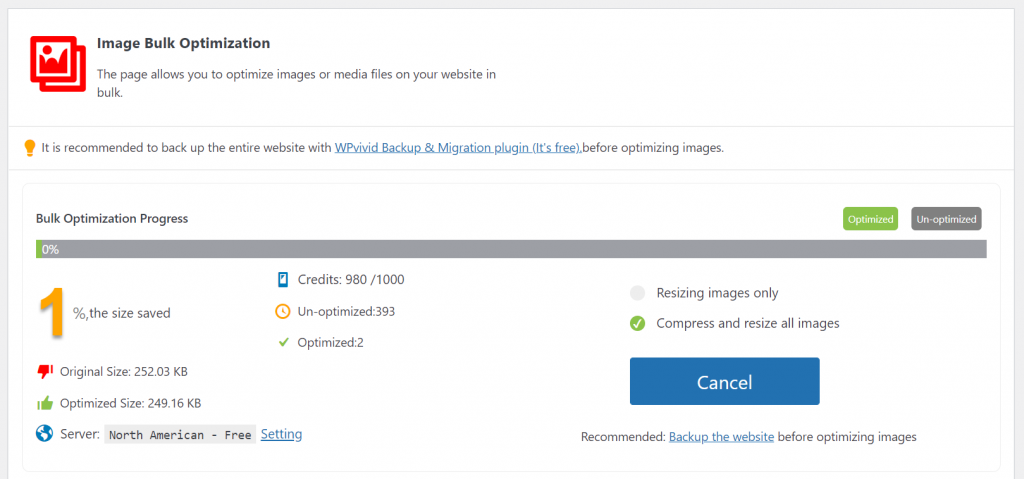
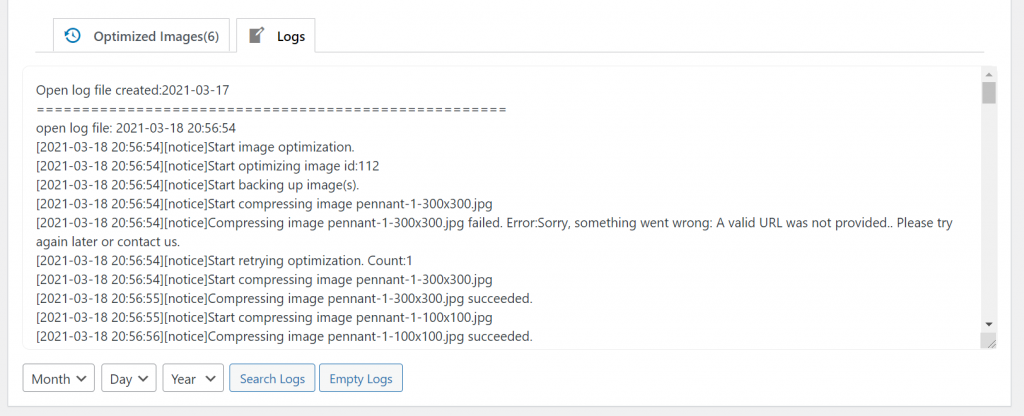
New features that are coming to the plugin include lazy loading and CDN integration. The WPVivid image optimization plugin is very easy to use and is worth testing on any of your sites.
Share
Manage Unlimited WordPress Sites from One Dashboard!
- Privacy-first, Open Source, Self-hosted
- Easy Client Management
- 15+ & 30 + Premium Add-ons
- Bulk Plugins & Themes Management